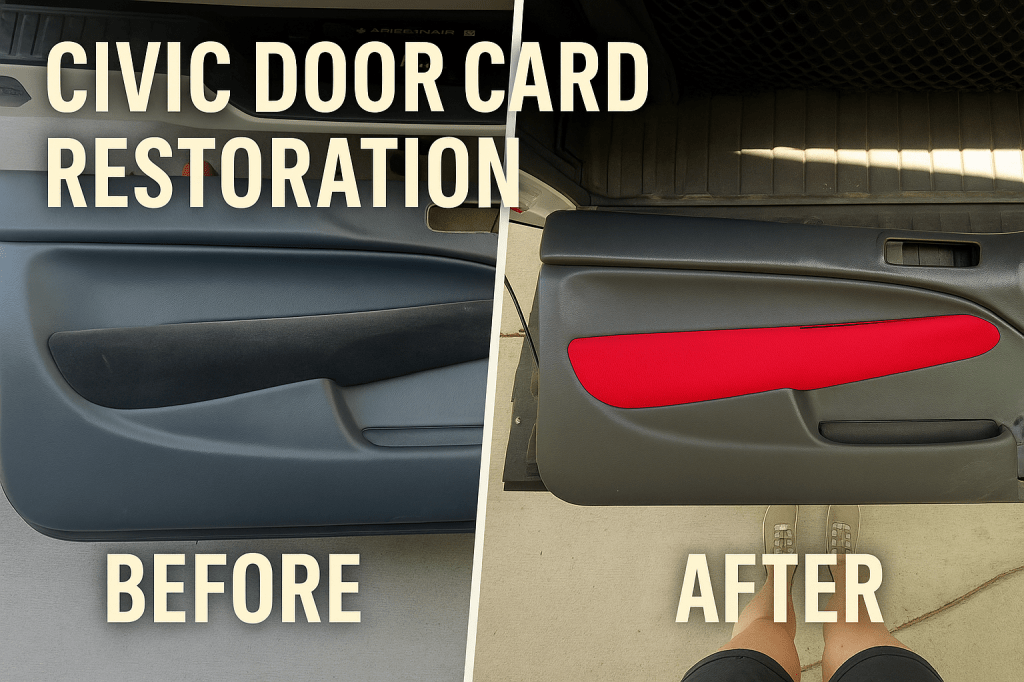
The door panels (or door cards) found in 1996-2000 Honda Civics are made predominantly from plastic and after decades of use and sun exposure are prone to failure. More specifically, the upper portion of the panel is known to crack and crumble resulting in not only a poor appearance but also affecting the overall structural integrity. Removing the panels to service anything inside the door itself can make matters much worse as pulling on them to release the associated trim clips can turn small cracks in to major breaks and you will often be greeted by small bits of plastic falling from the door as you attempt to dislodge the panel.
As with many golden-era Honda parts, the panels are no longer available new and unlike mechanical parts such as alternators and starters no remanufactured options are available. This leaves only a few options: junkyard, eBay, aftermarket sheet metal variants, or repairing. I made countless trips to local junkyards any time a new EK coupe popped up and without fail the panels would be missing (even after only being on the lot for a day or two) or they would be so mangled they weren’t worth salvaging. eBay frequently had inventory but prices were often above $500 + shipping and it was hard to confirm the condition via photos. Based on my failed sourcing attempts I was on the verge of going with aftermarket sheet metal panels but desperately wanted to maintain an OEM look so decided it against it. Which leads to the point of this post: how to repair your 1996-2000 Civic door panels, a process that is likely applicable to many other makes/models.
First things first, you must have a halfway decent set of panels to start with. Do they need to be perfect? Absolutely not. But, the panel should have all of its parts and the vinyl should be intact (don’t worry about the armrest fabric as I’ll go over how to replace that). Aside from the panels themselves, you’ll need a few other things in order to complete the repairs…
The products:
- Superglue – I found that the Loctite Gel Control (linked here) works well as it doesn’t run, is easy to manage while applying and is simple to dispense from the container.
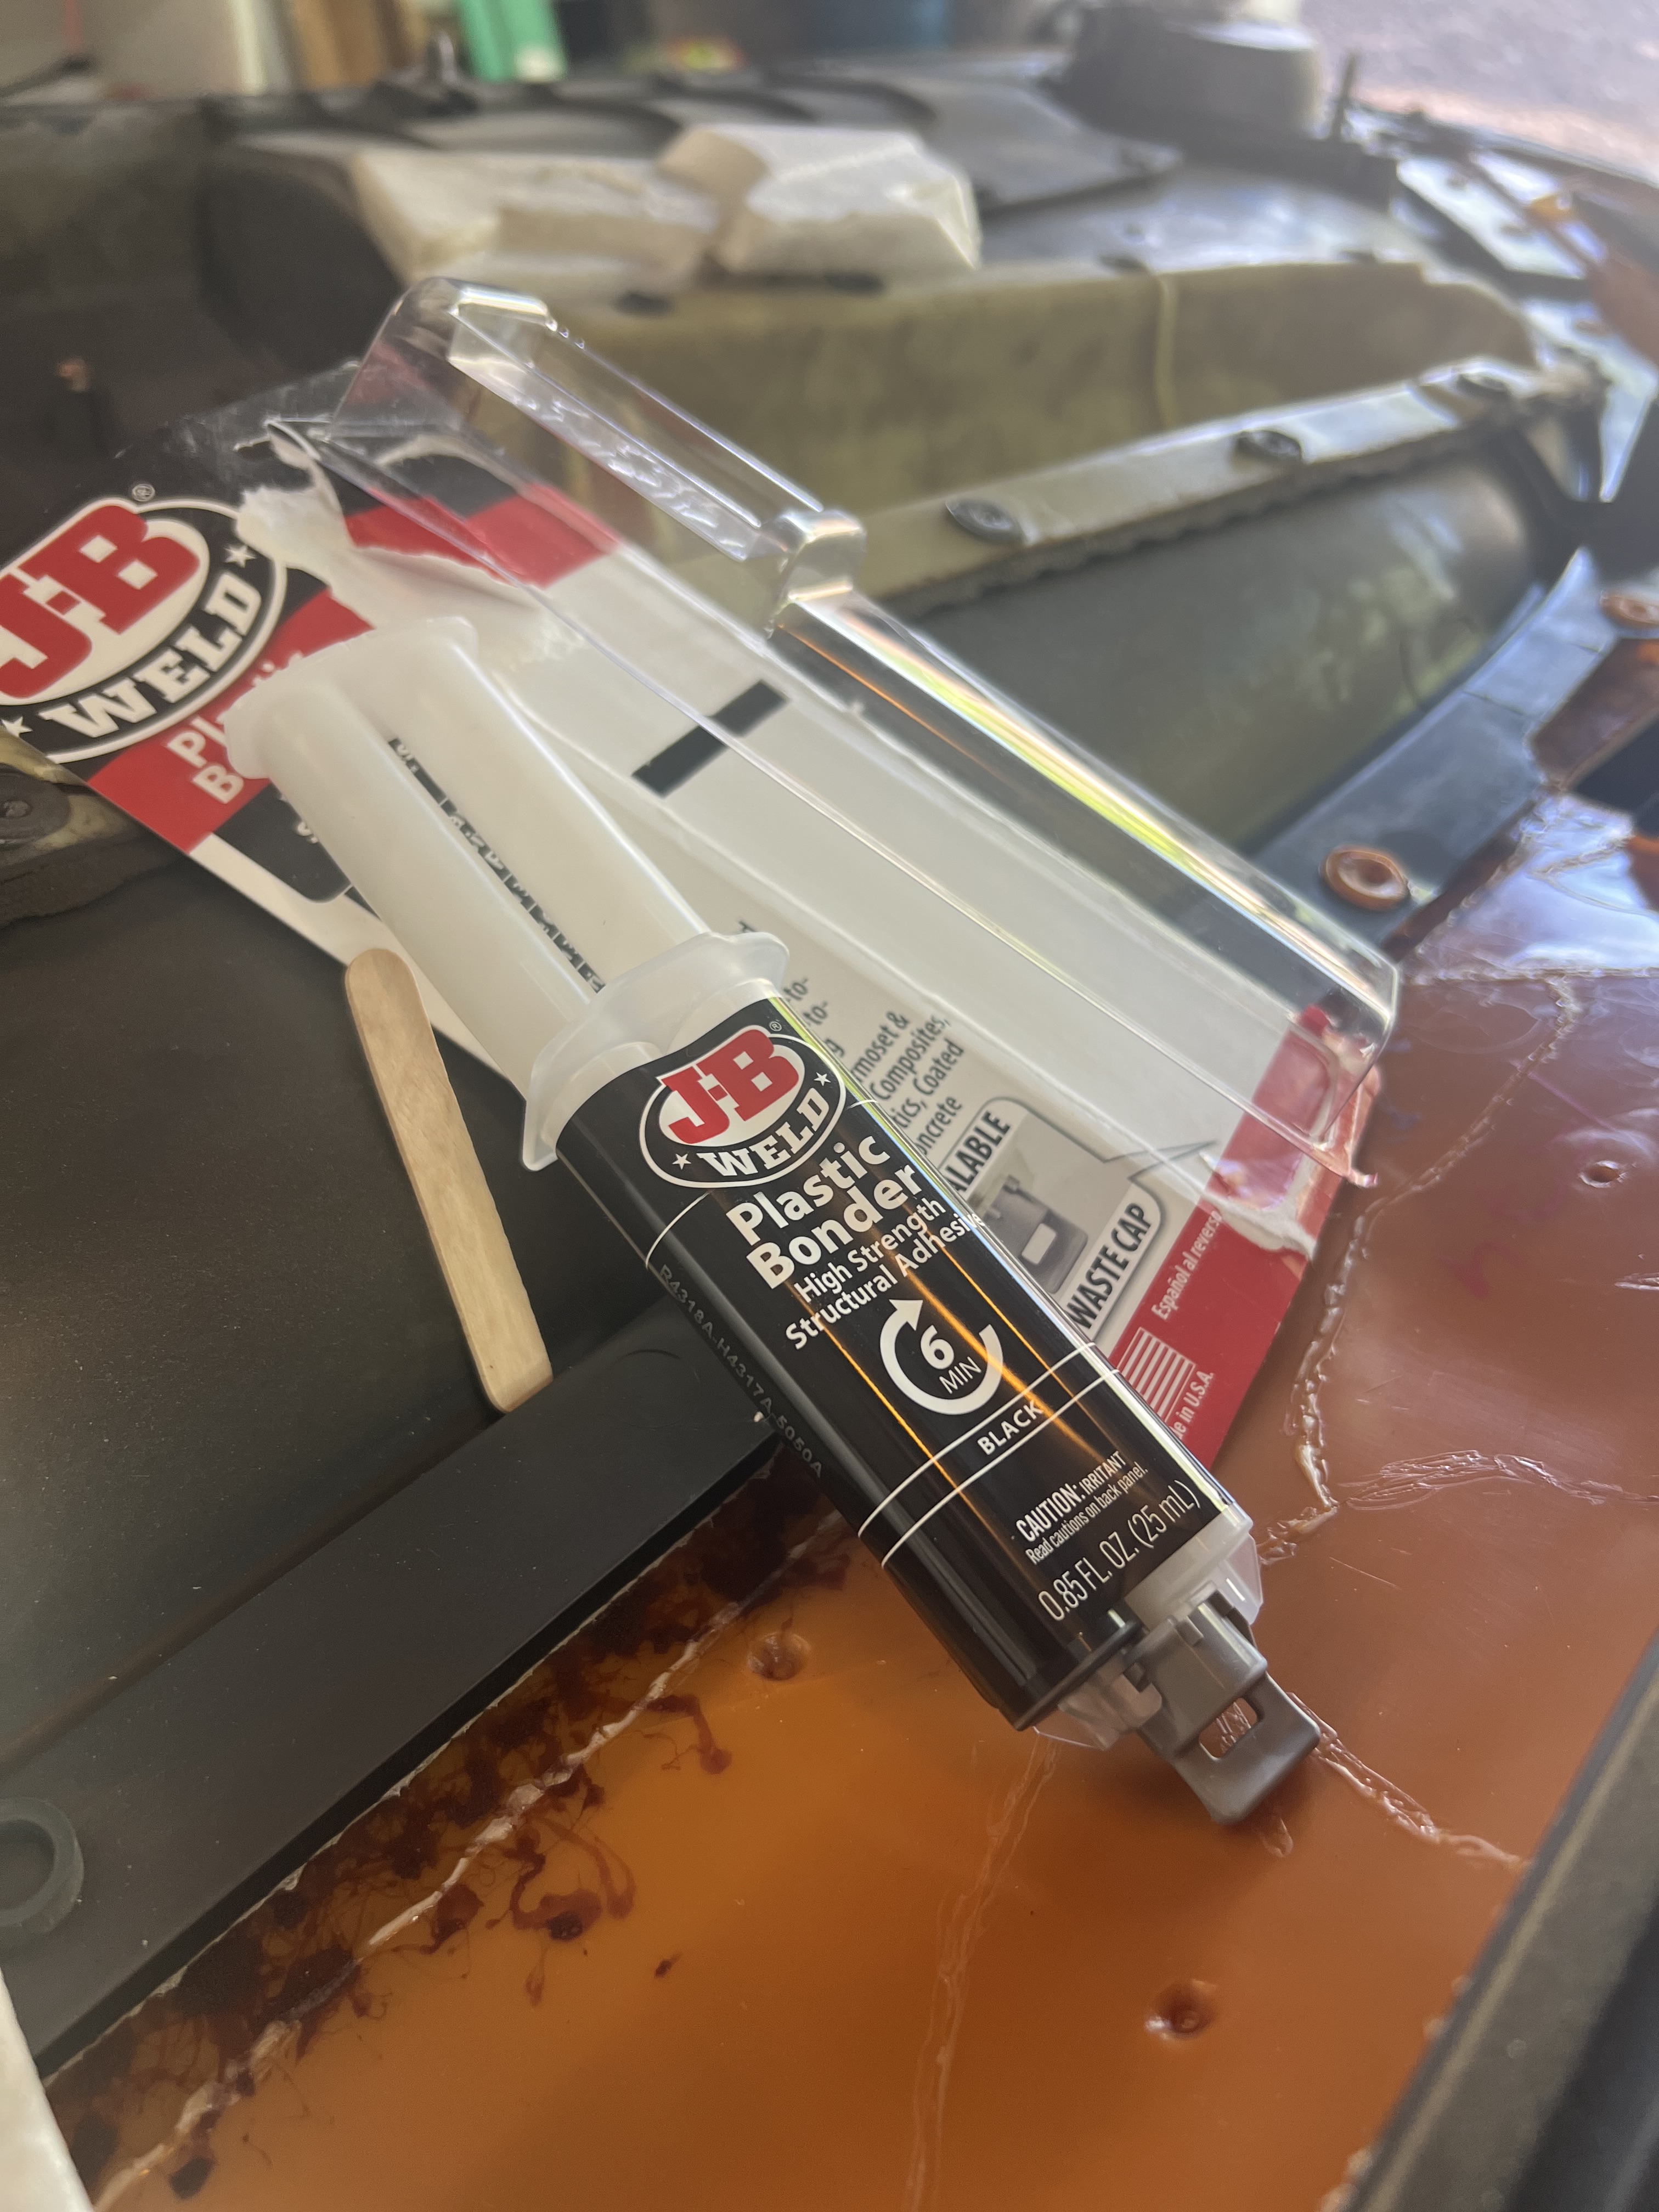
- Plastic Bonder – JB Weld 2 part urethane adhesive (linked here) is relatively inexpensive, cures quickly and holds strong.
- Isopropyl Alcohol – used to prep surfaces for glue, bonder and sound deadening.
- Fabric – Pick something that matches (or accents) your interior. I opted for red jersey fabric to emulate EK9 Civic Type R panels but you can go with any color/style as long as its decent quality; it will be subject to a decent amount of wear and exposure so choose wisely. To streamline, I went with a precut product similar to this but would likely not go this route again as it was quite small making the application process cumbersome.
- Fabric adhesive – 3M headliner adhesive (linked here) was my choice, there are many options and they likely all perform just as well but the 3M product was readily available and well reviewed making my decision an easy one.
- OEM style door trim clips – The Honda product is ideal, but considering the price point I opted for generics (linked here).
- Various screws and washers – too many variants to list but you’ll need a handful of differently sized coarse thread pan head Phillips screws ranging from #8 – #12 width and 3/8” – 5/8” length along with corresponding washers… more on this later.
- Sound deadening – this is an optional step, but if you’re old like me it’s an important one. I found the Amazon basics product (linked here) on sale for cheap – it adhered well to boot.
Let’s get to work….
The process:
- Remove the door panel: Start by removing all screws (door handle, armrest grab pocket, speaker, speaker surround), remove interior triangle mirror trim piece and finally dislodge the remaining trim clips carefully, ideally with an appropriate pry tool like this. Don’t forget to disconnect wiring harnesses where needed.
- Prepare the door panel: you’ll need a good work surface, I utilized a sheet of plywood on sawhorses but anything will do as long as it’s sturdy and appropriately sized. You’ll first one to asses the condition of the backside of the panel. Mine were severely cracked, missing clips and insanely flimsy. I first gave a good wipe down with a microfiber then used isopropyl alcohol to prep surfaces that would be needing glue or bonder.
- Set the major cracks: after you’ve identified the cracked sections I suggest circling them with permanent marker to help make them more easy to identify during the next steps. Now take your time and carefully apply superglue, if the cracks are bad you may need to apply and then hold sections in place while the glue cures – this is an important step so be patient and mindful that some areas may require multiple applications. The intent is simply to tack things together as the superglue will not provide any real structural support, that will happen later in the process.
- Reinforce: this is a two part process requiring plastic bonder application on top of previously applied superglue, and then a thin layer covering other areas to avoid future cracks and provide some structural support. Follow the JB Weld instructions to prepare the epoxy and then lay a generous bead over all cracks… then let this cure for at least a few hours, ideally a day or two. Now apply additional plastic bonder to the remainder of the upper section of the door panel as shown in below photo – this does not need to be thick and I used a gloved finger to spread it around, others suggest a paint brush. It’s worth noting that your experience with this process may benefit you later if you opt to replace the arm rest fabric… more on that later.
- Remove armrest insert: my least favorite step, but manageable if you take your time. The insert is held in place by plastic rivets that must be cut/sanded in order to facilitate removal.